
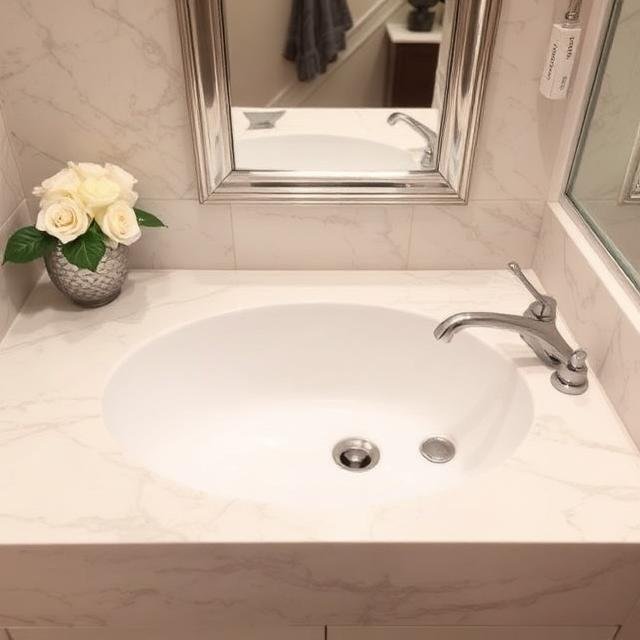
Bathroom marble is a symbol of luxury in a residential area, as it turns the personal space into spa-like sanctuaries. Whether it’s the bold, dramatic veins of Italian calacatta, statuario, or natural stone bathroom environment. The marble adversary, hard water over time beautiful marble surfaces can develop hazy, stubborn white rings and crusty mineral buildups that dull their natural brilliance. Understanding the precise chemical interactions at play and non-acidic restoration methodologies is paramount to preserving these timeless investments.
The Anatomy of the Problem: Why Hard Water Damages Marble
To effectively address hard water deposits, one must understand their composition. Hard water contains high concentrations of dissolved minerals, primarily calcium carbonate and magnesium sulfate. When water droplets evaporate from your bathroom countertops, shower walls, or floors, they leave behind these mineral solids. Over weeks and months, these individual microscopic crystals bind together, forming a resilient, calcified crust popularly known as limescale.
The core challenge with marble lies in its inherent geological composition. As a metamorphic rock derived from limestone, marble consists predominantly of recrystallized calcium carbonate. Because the stains and the substrate share the exact same chemical foundation, separating them requires extreme precision.
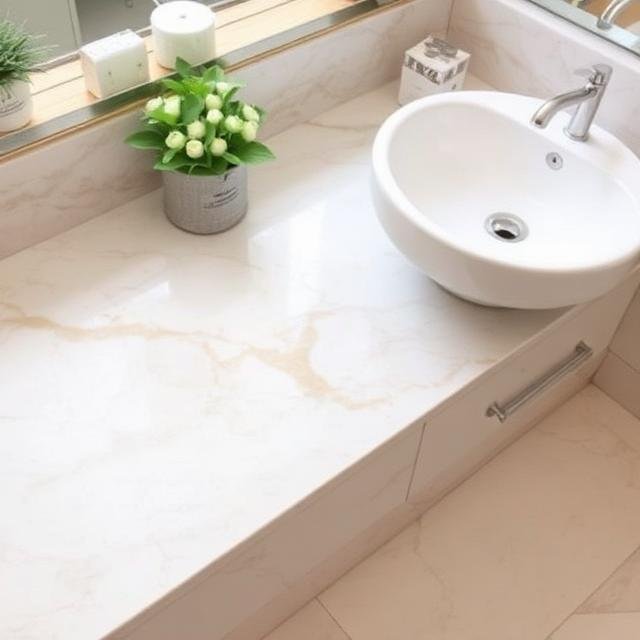
Traditional household cleaners designed to dissolve hard water stains rely heavily on aggressive acids (such as vinegar, lemon juice, or commercial sulfamic and phosphoric acid formulas). When applied to marble, these acids cause an immediate chemical reaction, rapidly dissolving the calcium carbonate within the stone. This phenomenon is known as etching a permanent chemical burn that strips away the polished finish, leaving a rough, dull, and porous mark that is far more damaging than the initial water stain.
The Crucial Distinction: Staining vs. Etching
Before initiating any cleaning protocol, homeowners and property managers must diagnose whether they are dealing with a surface deposit or structural etching:
- Hard Water Stains (Deposits): These are mineral buildups sitting on top of the marble surface. They typically feel slightly raised to the touch and possess a whitish, chalky, or cloudy appearance.
- Etch Marks: These are areas where the polished surface has been physically eaten away by acidic substances. Etch marks look like dull spots, water rings, or phantom stains, but they sit below the surface level. If the area looks dull but is completely flat or slightly recessed, it is an etch mark and requires mechanical re-polishing rather than standard deposit removal.
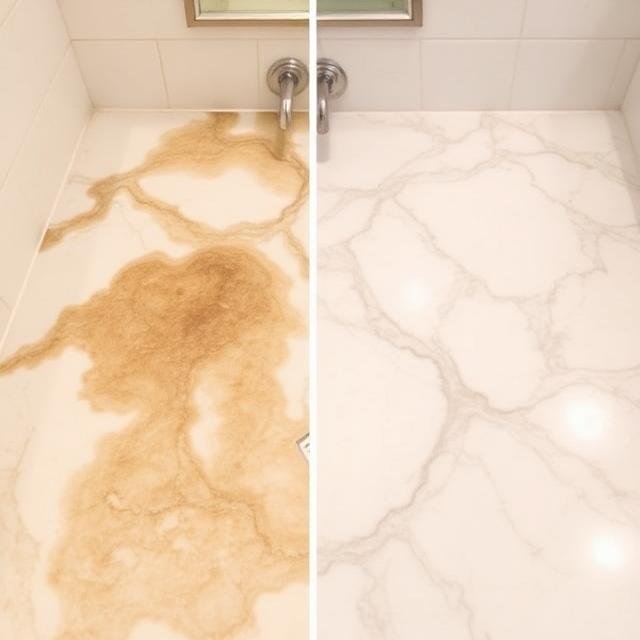
Step-by-Step Restoration Protocol for Hard Water Deposits
Removing stubborn hard water crusts from marble safely requires a non-acidic, abrasive approach combined with chemical lifting agents that respect the stone’s delicate alkaline nature. Follow this structured process:
- Mechanical Scrape-Bathing (For Crusty Build-ups): For heavy, raised mineral crusts around faucet bases or shower corners, use a brand-new, single-edge razor blade. Hold the blade at a shallow 15-degree angle relative to the stone surface. Gently, with light pressure, shave the top layer of the calcified crust away. Ensure the stone is lubricated with a few drops of water to prevent scratching. Do not dig the corners of the blade into the stone.
- Apply a Specialized Marble Poultice or Paste: For stubborn, hazy rings that cannot be scraped, create a gentle, ultra-fine abrasive paste. Mix food-grade baking soda with a professional, pH-neutral marble cleaner until it reaches a thick, toothpaste-like consistency. Apply this mixture directly over the hard water stains.
- The Dwell Period: Cover the applied paste with plastic wrap and seal the edges with painter’s tape to trap moisture. Allow it to sit undisturbed for 12 to 24 hours. This process breaks down the structural bond of the mineral deposit and draws it upward out of the marble’s microscopic pores.
- Gentle Agitation and Rinsing: Remove the plastic wrap and allow the paste to dry completely. Using a soft microfiber cloth or a non-scratch, white nylon scrubbing pad, gently agitate the area in small circular motions. Wipe away the dried residue with clean, distilled water and immediately buff dry with a fresh microfiber towel. Never allow water to air dry on the marble surface.
Proactive Prevention Strategies
Restoring marble is an intricate process, making prevention the most cost-effective long-term strategy. Implement these three preventative standards in your maintenance routine:
- The Squeegee Standard: Mandate the use of a professional rubber squeegee or a dedicated dry microfiber towel after every shower or countertop use. Eliminating standing water removes the vehicle carrying the minerals, preventing deposits from forming.
- Periodic Sealing Regimens: Apply a high-grade, fluoropolymer-based penetrating (impregnating) sealer at least once every six to twelve months. While sealers do not make marble entirely proof against etching, they fill the stone’s sub-surface pores, significantly slowing down the rate at which minerals can anchor themselves.
- Point-of-Entry Water Softening: The ultimate structural solution is the installation of an ion-exchange water softener for the entire property. By replacing calcium and magnesium ions with sodium ions, you eliminate hard water at its source, protecting your luxury stone, plumbing fixtures, and glass surfaces simultaneously.
Conclusion
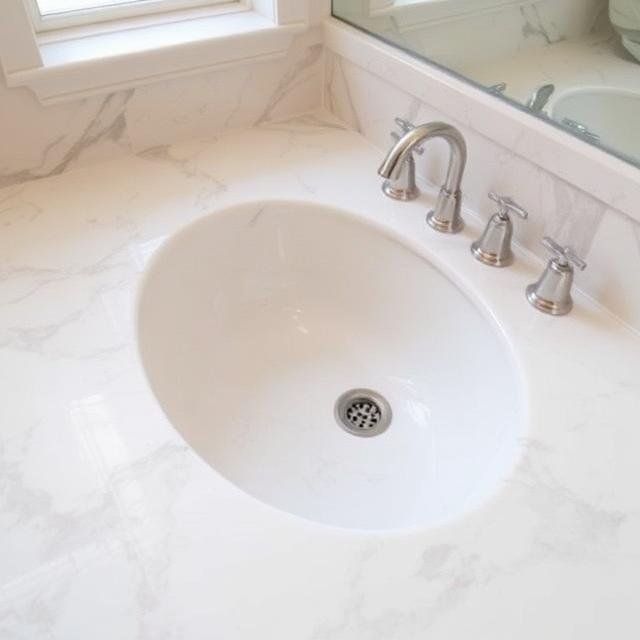
Hard water stains on bathroom marble are an unfortunate reality of modern living, but they do not have to mean the permanent ruin of your premium surfaces. By recognizing the chemical vulnerabilities of calcium carbonate surfaces and strictly avoiding acidic household cleaners, you can safely navigate mineral removal. Through a combination of precise mechanical scraping, pH-neutral poultice lifting, and rigorous daily water management, your marble will preserve its luminous, mirror-like depth for decades to come.
Frequently Asked Questions (FAQs) – Optimized for Search and Answer Engines
- Q1: Can I use vinegar or lemon juice to remove hard water stains from marble?
- A: Absolutely not. Vinegar, lemon juice, and traditional bathroom cleaners are highly acidic. Because marble is composed of calcium carbonate, these acids will instantly dissolve the stone’s surface, causing permanent chemical burns known as etching. Always use pH-neutral stone cleaners.
- Q2: How do I know if my marble is stained or etched?
- A: Hard water stains are mineral deposits that sit on top of the marble, feeling rough or raised to the touch. Etch marks are chemical damage that sits below the surface, presenting as smooth, dull spots where the polish has been eaten away by an acid.
- Q3: Does sealing marble prevent hard water stains?
- A: Sealing does not stop water from evaporating and leaving minerals on the surface. However, a high-quality penetrating sealer fills the pores of the marble, preventing those mineral deposits from locking deep into the stone, making them significantly easier to wipe away.
- Q4: How often should bathroom marble be sealed to protect against hard water?
- A: For high-moisture areas subjected to hard water, such as shower walls and vanity tops, it is highly recommended to apply a professional-grade penetrating sealer every 6 to 12 months.

