
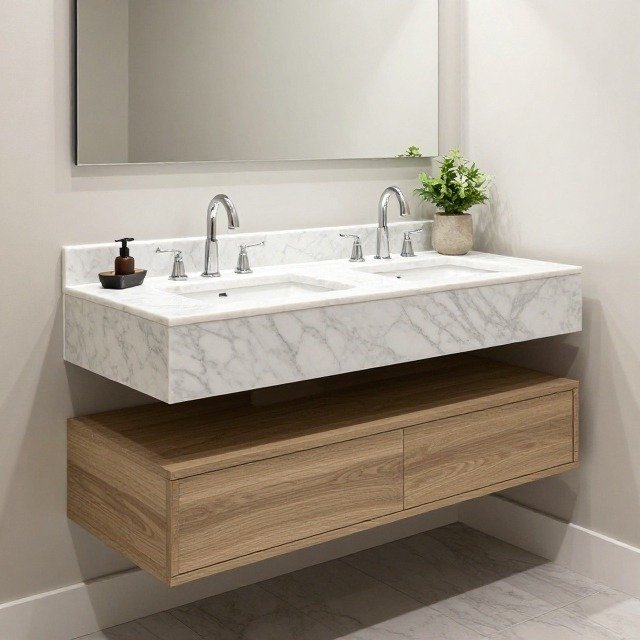
The floating marble vanity is the ultimate focal point in the contemporary design. By using hundreds of pounds of quarried stone seamlessly above the floor, it creates an illusion of weightlessness and expands the look by continuous floor tiling and exudes the minimalist sophistication.
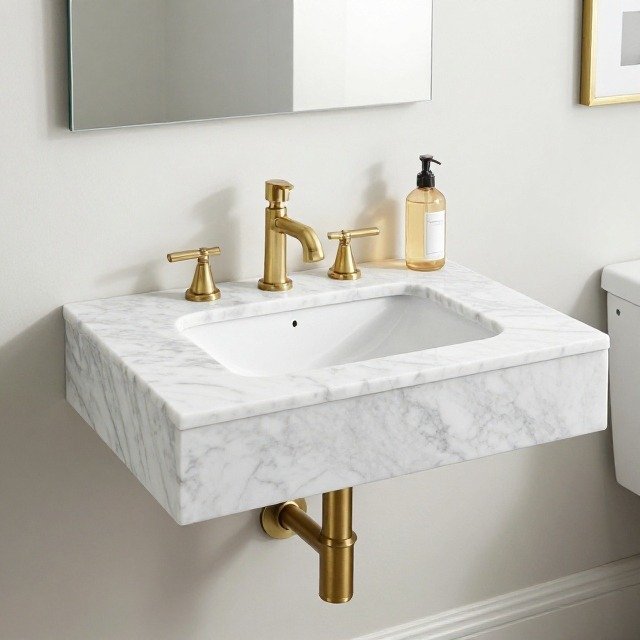
However, the execution of a floating marble in the bathroom vanity is not just an interior design; it is a structurally engineering-challenging task. A failure of design or anchoring can cause catastrophic failure and results in shattering stone and severe injury.
Below is the comprehensive guide to the structural dynamics, mechanical fasteners, and aesthetic design strategies it is required for safety design and installing floating marble vanity units.
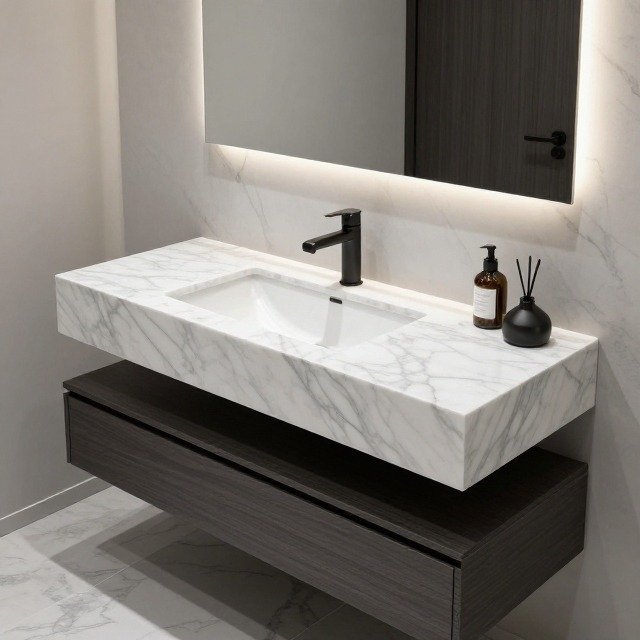
1. Structural Engineering & Load Calculations
To safely float the marble stone, you need to understand the static and dynamic physics.
Calculating the Weight Load
Natural marble typically weighs between 160 and 175 lbs per cubic foot (2,500 to 2,800 kg/m³). A standard 2cm (3/4in) slab weighs roughly 13 lbs/sqft, while a 3cm (11/4in) slab weighs approximately 19 to 20 lbs/sqft.
When factoring in:
- The countertop surface (60 in x 22 in)
- An integrated mitered marble apron (6 to 10 in drop)
- Under-mount marble sink basins filled with water (8.34 lbs/gallon)
- Brass plumbing fixtures
- Solid wood or metal internal drawer boxes
A 60-inch solid marble floating vanity can easily reach 280 to 450 lbs dry weight.
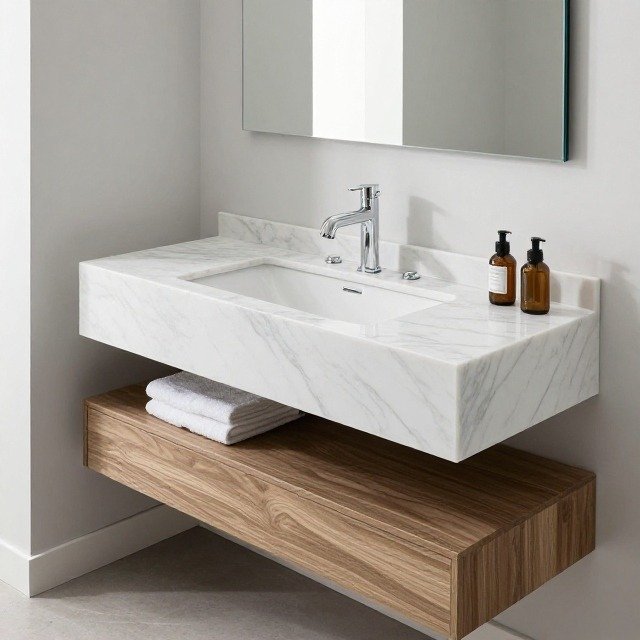
The Cantilever Principle and Moment Force
The primary danger is not simply downward gravitational shear force but rotational torque.
Because the vanity projects outward (typically 20 to 24 inches) from the wall, any downward weight applied to the front edge acts on a lever arm:
Bending Moment (M) = Force (F) × Distance (d)
If an adult homeowner accidentally sits on the front lip of the vanity, the anchor points at the top of the wall bracket experience thousands of inch-pound of tensile pull-out force. Hence, the framing and brackets must be engineered to withstand a safety factor of at least the static dead load.
Minimizing Weight Without Sacrificing Mass
To reduce dead load without sacrificing the grand, monolithic look, we can do this:
- Mitered Edge Profiles: Use 2 cm slabs with 45-degree mitered fold-down aprons rather than solid blocks of stone.
- Engineered Composite Substrates: Mount thin marble veneers (6mm to 10mm) to an aluminum honeycomb structural foam backer. This cuts stone weight by up to 60%.
2. Wall Framing, Backing, and Anchoring
Standard 1/2-inch drywall and standard 24 partition studs spaced at 16 inches on-center cannot support a floating marble installation alone. The wall must be structurally prepped prior to tile or drywall installation.
Step 1: Structural Wall Prep
- Sistering Studs: Sister existing 24- or 26-stud with structural grade lumber or reinforce with structural steel studs.
- Solid Horizontal Blocking: Install a minimum of 28 or 3/4 in. of structural exterior-grade plywood blocking between the studs across the full mounting span. The blocking should be secured with heavy-duty structural wood screws.
Step 2: Bracket Selection
Never rely on basic L-brackets or surface-mounted shelf clips. Use engineered structural steel brackets:
- Heavy-Duty Steel Cantilever Arm Brackets: Fabricated from structural carbon steel (minimum 3/8 in to 1/2 in thick) welded with triangular gussets or T-profiles.
- Concealed Steel Sub-Frames: A welded steel skeleton tube (2 in 2 in 3/16 in wall tubing) bolted inside the wall cavity directly to floor plates and studs, leaving rigid horizontal tines protruding through the finished sheetrock/tile.
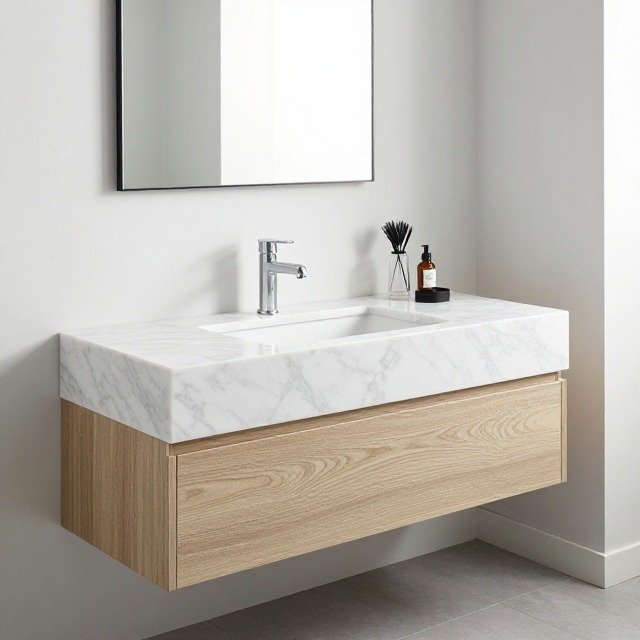
Step 3: Fasteners by Substrate Type
- Wood Stud Framing: 3/8 in. or 4 in. Grade 5 lag bolts or engineered structural timber screws with heavy structural washers.
- Masonry / Concrete Walls: Heavy-duty sleeve anchors or epoxy-set chemical anchors drilled a minimum of 3 to 4 inches into solid concrete or solid grout-filled CMU blocks. Never anchor into hollow cinder block voids.
- Metal Stud Framing: Through-bolting with backing plates (1/4in cold-rolled steel plate behind studs) or heavy-gauge metal toggle/channel assemblies.
3. Integrated Design & Architectural Tips
Balancing heavy structural engineering with delicate interior design requires precise detailing:
- The Floating Illusion via Reveal Shadows: Create a negative-reveal gap between the marble side profiles and the adjacent drywall using a recessed shadow line. This hides any natural wall deflection and accentuates the floating aesthetic.
- Concealed Under-Vanity LED Strips: Install low-voltage architectural LED tape in an aluminum extrusion channel recessed beneath the bottom edge. Indirect floor illumination visually lifts the unit while eliminating harsh under-counter shadows.
- Plumbing Strategy:
- Wall-Hung Rough-Ins: Rough-in all water supplies and P-traps inside the wall cavity at precise heights to ensure zero visible mechanicals from standing sightlines.
- Bottle Traps: If plumbing must exit beneath the marble apron, specify an architectural decorative solid brass bottle trap finished to match the sink faucets.
- Countertop Transitions and Apron Miters: Ensure stone fabricators run bookmatched marble veining continuously down the front apron miter. A continuous vein drop creates the visual weight of a bespoke solid quarry block.
4. Conclusion
A floating marble vanity is where meticulous structural engineering meets timeless interior architecture. Its success lies entirely behind the finished tile: reinforced structural framing, high-capacity cantilever brackets, and precise load calculations ensure longevity and safety. By treating the installation as an integrated structural system rather than cosmetic cabinetry, you achieve a floating showpiece that delivers daily function with effortless, gravity-defying beauty.
Frequently Asked Questions (FAQs)
Q1: Can an existing finished bathroom wall support a floating marble vanity without opening the drywall?
No. Mounting a real marble vanity requires opening the wall down to the framing. You must install sister studs, install heavy solid horizontal blocking or welded cantilever steel brackets, and anchor directly into the structural frame before re-tiling or closing the wall.
Q2: What is the ideal mounting height for a floating marble vanity?
The standard finished countertop height is 34 to 36 inches (86 to 91 cm) from the finished floor. For floating units, leave between 10 and 14 inches of open clearance underneath to preserve the floating aesthetic while maintaining ergonomic basin heights.
Q3: How do you prevent marble cracking under movement or vibration?
Natural stone has high compressive strength but relatively low tensile/flexural strength. Ensure the steel brackets or underlying marine-grade sub-tops are completely flat and rigid (maximum deflection rating of L/720). Bed the stone on structural neutral-cure silicone or hybrid polymers to absorb microscopic structural shifts.
Q4: How thick should the steel brackets be?
Engineered brackets for floating stone should generally be a minimum of 3/8 in (10 mm) thick carbon steel with gusset reinforcements, designed to support at least 300 lbs to 500 lbs per bracket arm.

