
Granite is renowned for its natural beauty and durability, but it is not completely indestructible. If you drop the heavy cast iron pan or drag ceramic cookware across an unsealed surface, granite countertops edges can result in scratches and chips.
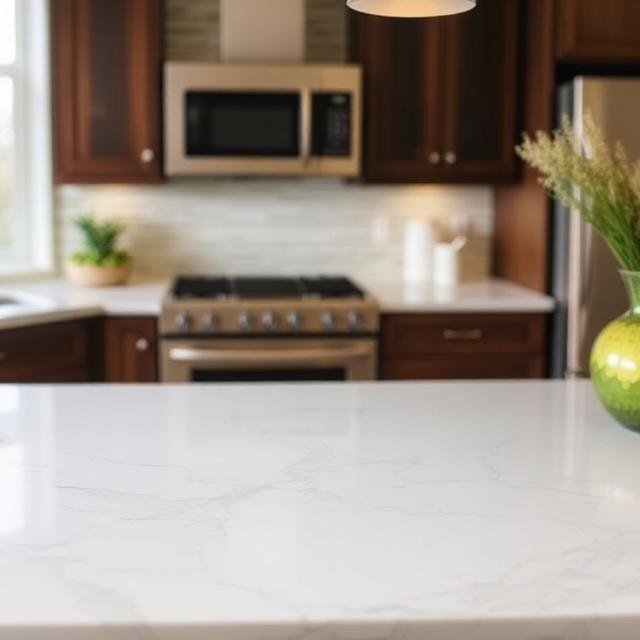
The minor to moderate surface scratches and chips on the surface do not warrant the marble slab. With the right material, like curing acrylic or color-matched epoxy, you can restore the granite countertops to a seamless finish.
Understanding the Damage: Scratches vs. Chips
Before beginning repairs, evaluate the depth and severity of the imperfection:
- Surface Scratches (Hairline): Light abrasions that can be seen under direct light but barely felt with a fingernail. These affect only the sealant layer or the very top micro-layer of stone.
- Deep Scratches / Gouges: Abrasions deep enough to catch your fingernail, exposing unpolished stone underneath.
- Chips: Missing flecks of stone occur along with overhangs and perimeters and create an uneven, jagged pocket.
Essential Tools and Materials
| Damage Type | Recommended Repair Material | Auxiliary Tools Needed |
| Light Surface Scratches | Stone polishing paste / Diamond polishing powder (tin oxide) | Microfiber cloths, buffing pad / variable-speed polisher |
| Deep Scratches & Minor Chips | Clear, light-curing acrylic gel (LCA) or clear cyanoacrylate (gel CA glue) | Rubbing alcohol (91%+), razor blade (single-edge), masking tape |
| Large Chips & Void Pockets | Two-part epoxy or polyester resin (clear or tinted with stone pigment) | Mixing stick, plastic putty knife, wet/dry sandpaper (400–2500 grit), granite sealer |
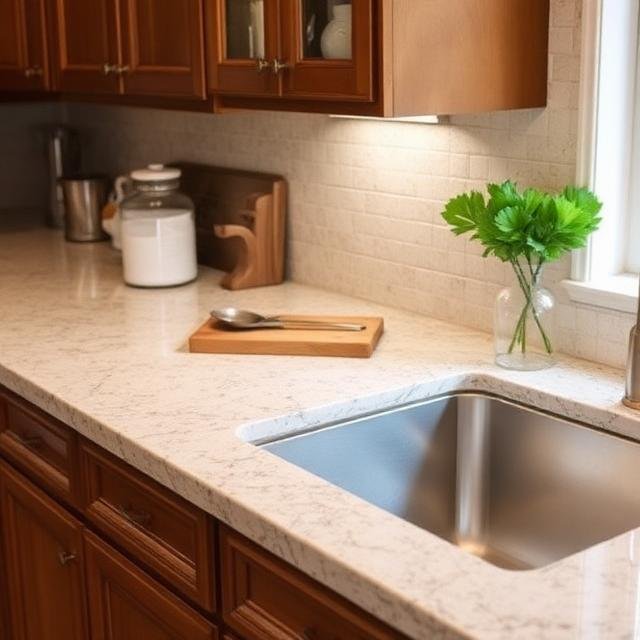
Step-by-Step: Repairing Light Surface Scratches
If the scratch does not catch the fingernail, it can be buffed out without any resin.
- Thoroughly Clean the Area: Wash the surface using a pH-neutral stone cleaner or mild dish soap. Remove all grease, food residue, and dust. Dry the floor completely.
- Apply Polishing Compound: Place a dime-sized amount of diamond granite polishing cream or tin-oxide powder onto the scratch.
- Buff the Surface: Using a dry microfiber cloth at low speed, buff in tight circular motions with steady, moderate pressure for 2–3 minutes.
- Wipe and Inspect: Clean off the slurry with a damp cloth. If the scratch is still visible, then repeat the process. Once smooth, reapply an impregnating granite sealer over the buffed patch.
Step-by-Step: Repairing Deep Scratches and Edge Chips
For chips and deeper gouges, filling the void is necessary to recreate a flush, uniform plane.
Step 1: Prep and Degrease the Void
Resin and glue need a completely dry surface with oil-free to bond permanently. Clean the chip thoroughly using the cotton swab dipped in 91%+ isopropyl alcohol or pure acetone. Allow it to dry completely.
Step 2: Mask the Perimeter
Apply painter’s masking tape around the perimeter of the chip, leaving only the recessed void exposed. This prevents excess adhesive from spreading onto undamaged polished stone.
Step 3: Choose and Mix the Filler
- For Multi-colored or Patterned Granite: A clear, optical-grade gel or clear epoxy allows the underlying natural stone colors and flecks to show through, creating a natural camouflage.
- For Solid or Dark Granite (e.g., Absolute Black): Mix a two-part transparent epoxy and stir in a tiny speck of powdered pigment powder until the color matches the undertone of the slab.
Step 4: Fill the Chip
Overfill the chip slightly above the countertop line for minor settling and shrinkage during the curing process:
- If using light-curing acrylic (LCA): Apply the gel, place the clear curing strip flat over the wet gel, and shine the curing LED light directly over it for the manufacturer-recommended duration (typically 20–60 seconds).
- If using two-part epoxy or gel CA glue: Carefully drop the mixture into the crater until it mounds slightly above the surface. Spritz with an accelerator if using cyanoacrylate, or allow epoxy to cure fully (typically 12–24 hours).
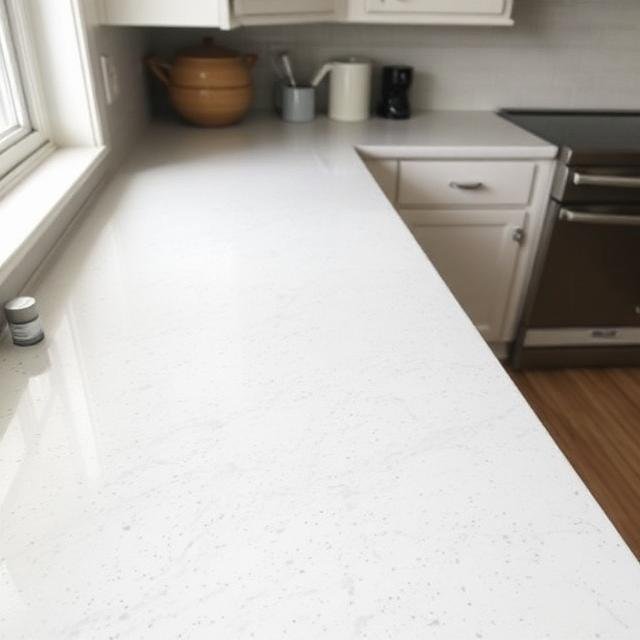
Step 5: Level the Repair Flush
- Remove the masking tape.
- Hold a fresh, single-edge razor blade at a 45-degree angle relative to the counter surface.
- Using light, gentle, scraping strokes, scrape away the hardened mound until the patch sits completely flush with the surrounding granite. You should not feel a lip or ridge when running your fingertip across it.
Step 6: Polish and Reseal
- For epoxy repairs, lightly wet-sand the patched spot using ultra-fine wet/dry sandpaper lubricated with a few drops of water to blend the sheen.
- Apply granite polish or buffing cream across the repair to match the slab’s original high-gloss factory finish.
- Finish by applying a penetrating impregnating sealer over the area to preserve water and stain resistance.
Preventive Care for Granite Countertops
- Always Use Cutting Boards: While granite is harder than knife steel, abrasive micro-particles or ceramic knives can leave scratches, and repeated cutting dulls your knives.
- Avoid Acidic and Abrasive Cleaners: Avoid vinegar, lemon juice, bleach, ammonia, and scouring pads, which degrade the stone’s sealer and dull the surface gloss.
- Mind High-Impact Zones: Be cautious around undermount sink rims when washing heavy cast-iron cookware, Dutch ovens, and stoneware.
- Reseal Annually: Perform the “water drop test”; place a few drops of water on the granite. If the water absorbs and darkens the stone within 10–15 minutes, it is time to reapply a penetrating stone sealer.
Conclusion
Countertop blemishes do not need to ruin the aesthetic of your kitchen or bath. Light hairline abrasions can be removed with specialized polishing compounds, while deeper chips and gouges can be seamlessly leveled using clear acrylics or tinted two-part epoxies.
By addressing chips promptly and maintaining a routine sealing schedule, you can protect the structural integrity and timeless beauty of your granite countertops for decades to come.
Frequently Asked Questions (FAQs)
1. Can I use Super Glue to fix a chip in granite?
Yes, clear cyanoacrylate (Super Glue gel) is an effective quick fix for small chips and hairline surface fractures. However, for large voids or high-wear areas near sinks, a dedicated two-part epoxy or light-curing acrylic repair kit offers superior durability, UV resistance, and longevity.
2. How do I match the color of patterned or exotic granite?
In most cases, an optically clear, high-gloss acrylic or epoxy repair resin is better than attempting to match colors. Because granite consists of distinct mineral grains (quartz, feldspar, and mica), a clear filler allows the colors underneath and around the chip to show through, blending naturally.
3. Will repairing a chip leave a visible mark?
When leveled flush with a razor blade and properly buffed to match the slab’s sheen, a repaired chip is typically undetectable from standing height and only noticeable upon close inspection under direct, raking light.
4. When should I call a professional stone restoration specialist?
You should consult a professional if you are dealing with structural cracks that span across slabs, large breaks around the sink cutout, or extensive etch marks across large sections that require full mechanical re-honing with commercial diamond-floor machines.

