
Granite countertops are exceptionally durable, timelessly beautiful, and naturally resistant to scratches and heat. However, despite their robust structural composition, they are not entirely immune to accidental damage. The cast iron skillet’s dropped glass jar’s structural setting can occasionally cause chips along exposed edges near high-stress areas like sink cutouts.
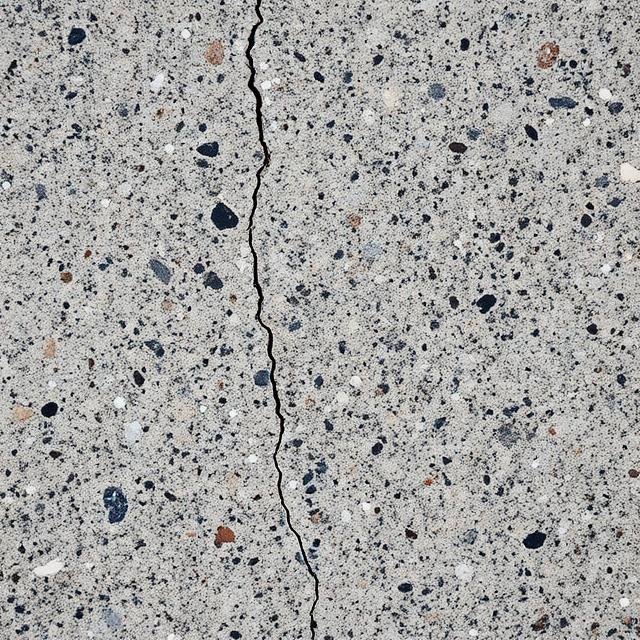
The minor imperfections do not demand an expensive slab replacement. With the correct material and meticulous surface preparation, you can seamlessly restore your original grandeur using a specialized DIY approach and a step-by-step technical guide to executing a flawless approach and aesthetic repair.
Essential Tools and Materials
Before initiating the restoration process, assemble the following industrial-grade tools to ensure a high-fidelity finish:
- Clear, Professional-Grade Epoxy or Cyanoacrylate Gel: Gel formulations offer excellent viscosity control, keeping the adhesive within the localized repair zone.
- Granite-Tinting Pigments: Powdered or liquid tints matching the primary background and secondary veining tones of your stone.
- Acetone (99% Pure): Essential for extracting embedded grease, oils, and particulate matter.
- Single-Edge Razor Blades: Brand-new, sharp blades to flush-cut excess cured resin without scratching the natural stone finish.
- Fine-Grit Diamond Polishing Pads: Ranging from 800-grit up to 3000-grit for wet refining the surface sheen.
- Painter’s Tape: High-tack tape to isolate the damage and guard adjacent polished areas.
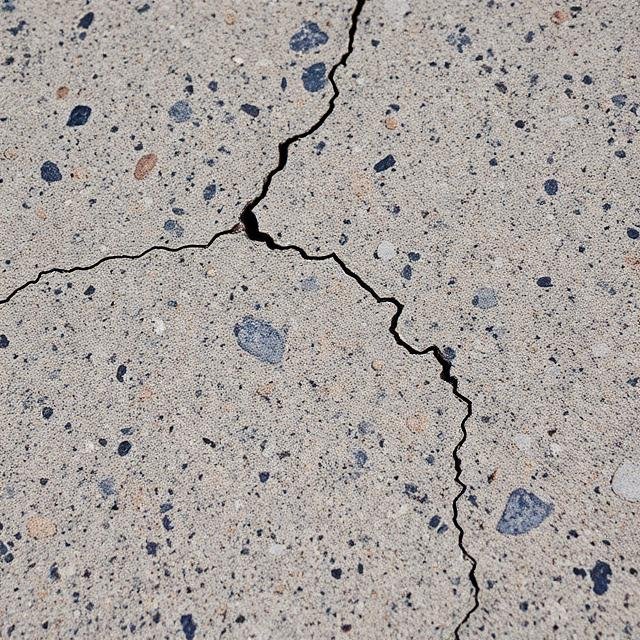
Step-by-Step Technical Repair Process
Step 1: Thorough Surface Preparation and Decontamination
Structural adhesion relies entirely on surface cleanliness. Use a microfiber cloth to clean and scrub the damaged cavity vigorously. Ensure all cooking oils, old sealers, and loose mineral fragments are fully evacuated.
Step 2: Masking and Color Matching
Apply painter tape tightly around the perimeter of the chip, leaving a mere 1 millimeter margin. This restricts overflowing adhesive from curing onto uninjured stone. The granite features like intricate veins or multicolored granular patterns, mix a small batch of epoxy on a clean piece of cardboard.
Step 3: Resin Application and Overfilling
Use a wooden spatula or artist’s palette knife and patterns to tint resin deep into the void or crack now, firmly press to eliminate micro air pockets. Overfill the repair area slightly, creating a tiny raised mound above the countertop plane. The shrinkage occurs during the cross-linking polymer process, and overfilling ensures sufficient material remains a perfectly flush finish.
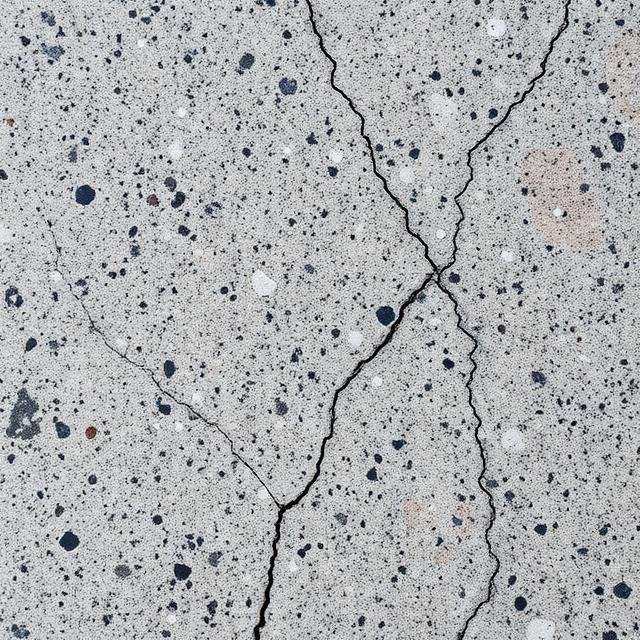
Step 4: Curing and Precision Trimming
Allow the resin to cure completely according to the manufacturer’s operational specifications, 12 to 24 hours for standard epoxy if utilizing a UV-curable acrylic.
Step 5: Surface Blending and Polishing
To match the factory-polished sheen of your countertop, gently buff the repaired spot using ultra-fine diamond polishing pads. Start with an 800-grit matrix and work sequentially up to 3000 grit, applying minimal moisture. Wipe clean, evaluate the reflection from an oblique angle, and apply good quality stone sealer over the entire area to safeguard against future chemical degradation.
Conclusion
Repairing minor physical deficits in a natural granite matrix requires a deliberate blend of chemical prep, color mechanics, and tactile precision. By addressing chips and minor structural fissures promptly, you permanently prevent moisture intrusion from destabilizing the internal mineral structure. With this meticulous DIY approach, the repair becomes virtually invisible, successfully preserving the pristine aesthetics and long-term asset value of your architectural investment.
Frequently Asked Questions (FAQs)
Q1: Can I use standard clear super glue for quick edge chip repairs?
A: Yes. For minor, shallow chips on dark or highly patterned granite, a high-viscosity cyanoacrylate (super glue) gel works exceptionally well. However, for deep structural voids or light-colored stones, a color-matched two-part epoxy resin provides superior durability and UV resistance.
Q2: How do I choose between clear epoxy and colored epoxy for a repair?
A: Clear epoxy is ideal for narrow hairline cracks and tightly bound chips where the underlying natural mineral patterns remain intact. For large, deep chips where the natural stone matrix has been entirely lost, you must tint the resin to match the stone’s background hue to mask the repair
Q3: Will the razor blade scratch the polished surface of my granite?
A: Natural granite ranks high at 6 to 7 on the Mohs hardness scale, whereas a standard steel razor blade ranks lower (around 5.5). As long as the blade is held at a flat, shallow 15-degree angle and slid smoothly across the surface without downward corner pressure, it will clean off the resin cleanly without marking the stone.

