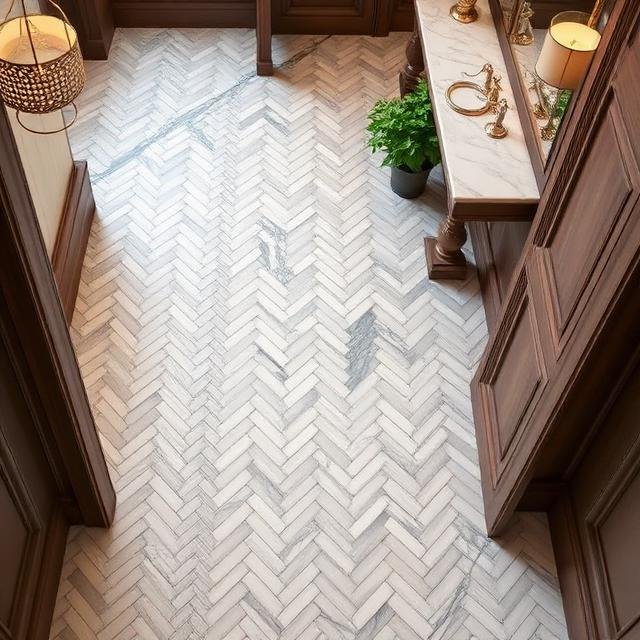
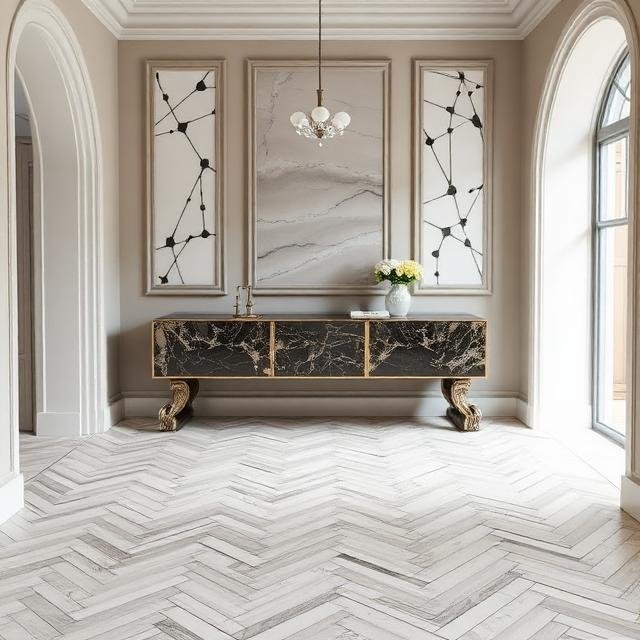
The herringbone pattern is a chameleon design. It is rooted in the ancient Roman opus spicatum used for roadway durability. It has evolved into the pinnacle of interior luxury. When paired with the natural veins of marble, it creates a floor that is both an architectural statement and a timeless piece of art.
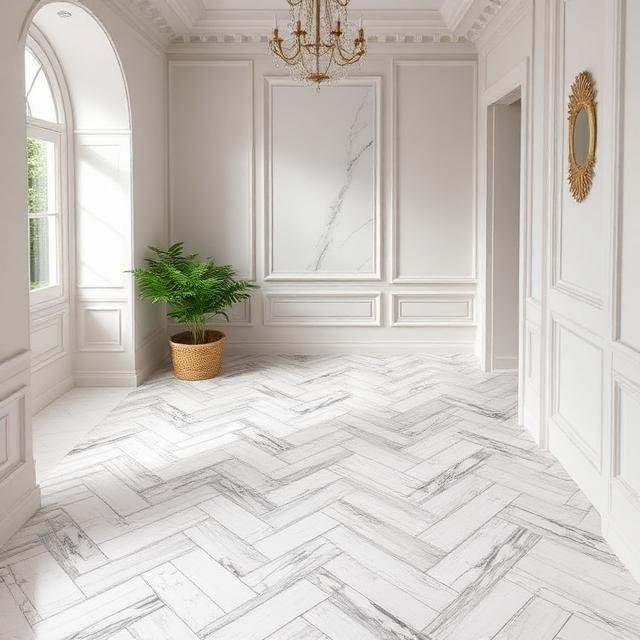
As we move into 2026, the trend is shifting toward “Quiet Luxury,” where the quality of materials and the complexity of the layout show off the luxury. Here is everything you need to know about designing and installing herringbone marble floor.
1. Popular Herringbone Marble Patterns
The classic zigzag is well known several variations can dramatically change the vibe of your room:
- Single Herringbone: The traditional 90 degree interlocking pattern. This creates a rhytjmic flow that looks elongated narrow hallways.
- Double Herringbone: Using two marble slabs side by side instead of one. It adds a visual weight and works beautifully in the living room.
- French (Chevron) vs. Herringbone: * Herringbone: Rectangular planks overlap at 90-degree angles.
- Chevron: Planks are cut at a 45-degree angle to meet in a perfect “V” point, creating a sharper, more contemporary look.
- Diagonal Herringbone: Rotating the entire pattern by 45 degrees to run diagonally across the room, which can make a small bathroom feel significantly wider.
2. Choosing the Right Marble for 2026
In 2026, the preference is moving toward warmer neutrals and honed finishes.
- Carrara White: The classic choice with soft grey veining.
- Calacatta Gold: Features bold, dramatic gold and grey veins—ideal for entryways.
- Nero Marquina: Deep black with white veins for a high-contrast, moody aesthetic.
- Thassos White: A nearly pure white “crystalline” marble that reflects maximum light.
3. Step-by-Step Installation Guide
Installation of marble in a herrigbone pattern requires 20% more accuracy than a standard grid.
Phase 1: Preparation
- Calculate Waste: Always order 15 -20% extra material. The angled cuts at the perimeter result in significant off-cuts.
- Substrate Check: Marble is heavy and prone to cracking. Ensure the subfloor is perfectly level and stable.
Phase 2: Layout & Dry Run
- Find the Center: Mark the center of the room with a chalk line. Start your pattern from the center and work outward to ensure symmetry.
- Dry Lay: Arrange at least three “V” shapes without adhesive to check the flow and color variation of the natural stone.
Phase 3: Setting the Stone
- Adhesive: Use a high-quality, white thin-set mortar. Grey mortar can sometimes bleed through or shadow light-colored marbles.
- Spacers & Leveling: Use 1/16″ or 1/8″ spacers. Since marble slabs can vary slightly in thickness, use a T-lock leveling system to prevent “lippage” (uneven edges).
Phase 4: Grouting & Sealing
- Seal Before Grouting: Marble is porous in nature. By applying an impregnating sealer before grouting to prevent the grout pigment from staining the stone.
- Grout Choice: Choose a grout color that matches the marble’s base tone for a seamless look, or a slightly darker tone to emphasize the pattern.

FAQs
Q: Is herringbone marble flooring slippery?
A: Polished marble can be slick when wet. For bathrooms, choose a honed (matte) finish or smaller mosaic tiles, as the increased grout lines provide more traction.
Q: Can I use herringbone marble with underfloor heating?
A: Yes! Marble is an excellent thermal conductor, making it one of the best materials for radiant heating systems.
Q: How do I maintain marble floors?
A: Avoid acidic cleaners (like vinegar or lemon). Use a pH-neutral stone cleaner and re-seal the floor every 12–18 months.