
Granite is a durable and very distinct natural stone. However, despite its hard-wearing properties and high-traffic usage, chemical etching from acidic cleaners and abrasive scratches spoil the mirror finish of granite. The granite surface turns slowly dull, cloudy, and masked with water spots; a comprehensive restorative treatment is needed to reclaim its pristine natural depth.
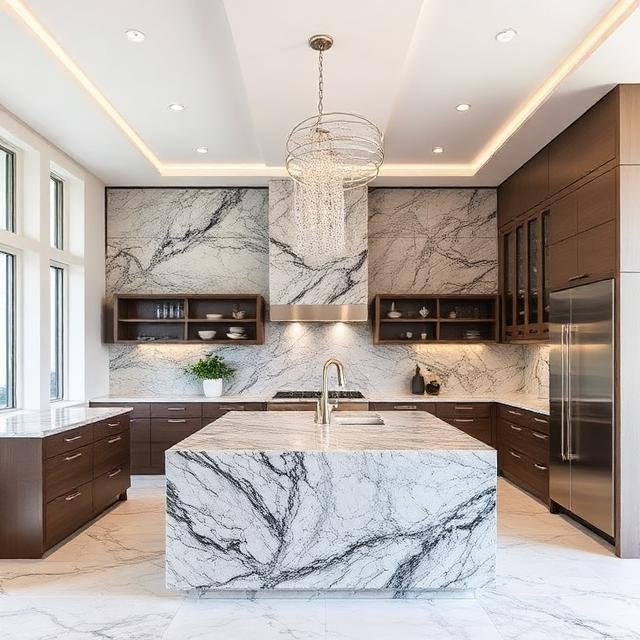
This authoritative technical guide breaks down the restoration workflow into clear, sequential phases. Whether dealing with expansive residential kitchen countertops or the installation of stone that executes these industries, it ensures maximum structural clarity and long-lasting shine.
Phase 1: Diagnosing the Root Cause of Dullness
Before launching the mechanical actions, it is highly imperative to perform a preliminary diagnosis. Superficial cloudiness can stem from simple residue accumulation, whereas the severe dullness points to mechanical wear or chemical etching.
- Symptom: Sticky, cloudy film over the entire slab.
- Root Cause: The buildup from dish soap and improper cleaners.
- Remedy: Deep alkaline degreasing and stripping.
- Symptom: Isolated rings, splash shapes, or dull spots.
- Root Cause: Chemical etching from acidic substances like lemon juice or vinegar.
- Remedy: Engineering-grade stone diamond repolishing.
- Symptom: Widespread high-traffic micro-scratches.
- Root Cause: Abrasive friction from dust particles, cookware, and daily use.
- Remedy: Progressive diamond pad honing and chemical polishing.
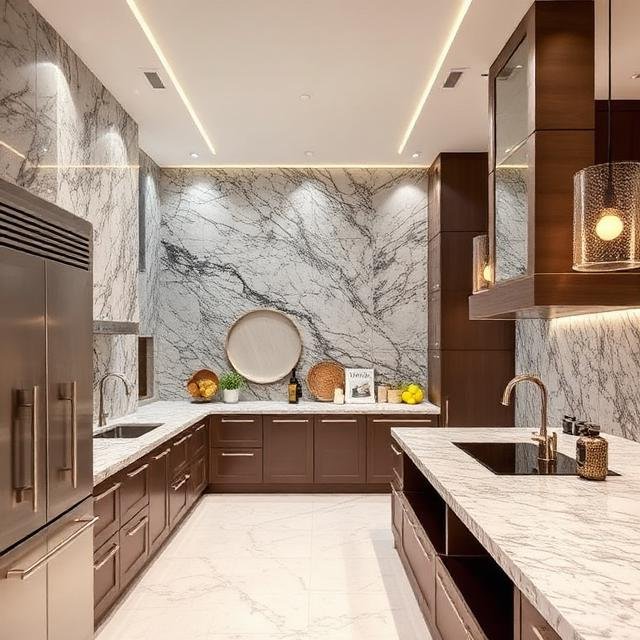
Phase 2: Comprehensive Surface Preparation & Decontamination
Any restorative compound applied to an uncleaned surface will trap particulate contaminants triggering deep scratches. The stone surface down to its raw crystalline framework requires a methodical approach:
- Clear the Area: the stripped surface of all appliances and temporary items. The mask-off adjacent cabinetry, stainless steel sinks, and using professional-grade painters and high-density plastic sheeting to protect from accidental splatter.
- Execute an Alkaline Wash: Apply a specialized pH-neutral heavy-duty stone degreaser. Avoid standard off-the-shelf household spray cleaners. The high acidity will degrade the stone matrix. Scrub smoothly in circular patterns using a soft microfiber cloth.
- Purify with Distilled Water: Thoroughly wipe away the slurry with distilled water to break down and lift away suspended ionic residues.
CRITICAL STONE SAFETY WARNING: The circumstances utilize the standard white vinegar and abrasive ammonia-based glass cleaners on natural granite. These corrosive substances dissolve the sensitive chemical matrix bonding the feldspar and mica minerals, leaving permanent chemical microvoids across the stone.
Phase 3: The Mechanical Honing Phase (For Deep Scratches)
If your granite exhibits tactile structural scratches, light surface stains, or etches, surface chemical polishing alone is insufficient. Level the mechanical surface using a professional variable-speed wet stone combined with diamond polishing pads:
- Step A (Coarse Smoothing): Affix a 400-grit wet diamond pad to the variable-speed polisher. Set the system tool output within a safe 1,500 to 2,000 RPM range. Introduce a steady stream of water to prevent extreme thermal stress and frictional overheating. Work across the surface using overlapping horizontal and vertical strokes.
- Step B (Medium Progression): Transition smoothly to an 800-grit pad, repeating the exact pattern. This step shears off the sharp micro-ridges left behind by the 400-grit pad.
- Step C (Fine Satin Prep): Complete the mechanical refinement phase utilizing a 1500-grit diamond pad. By the end of this phase, the granite surface will display a perfectly uniform, smooth satin finish devoid of superficial defects.
Phase 4: Chemical Polishing and Gloss Rejuvenation
Once the stone is uniform, you can bring out its deep and glassy finish. This is achieved through a specialised chemical reaction using a high-grade granite polishing powder containing premium oxide and ultra-fine micro-abrasives.
- Apply the Buffing Matrix: The approximately two tablespoons of technical grade granite polishing powder directly onto the center of 3000 + grit mechanical buffing pad.
- Form a Polishing Paste: Lightly mix the powder with distilled water to form an paste.
- Execute the Polish Buff: Guide the polisher across the area at low speed to control the spray, then increase to 2,500 RPM. The work in compact 2×2 foot squares ensures constant movement to eliminate heat focus.
- Final Cleanse: Wipe away any remaining powder film with an ultra-soft, clean damp cloth.
Phase 5: Applying a High-Grade Impregnating Sealant
Polishing the granite within the natural stone. To preserve the granite finish and prevent future staining it is necessary to apply good quality of solvent based penetrating sealer.
- Slab Saturation: Pour a generous amount of premium granite sealer over the surface. Use a lint-free applicator pad to spread it evenly across the entire slab.
- Dwell Window: Allow the chemical sealer to actively penetrate into the open stone pores for 15 to 20 minutes. If specific zones absorb the liquid completely, apply additional sealer immediately to keep it fully saturated.
- Complete Residual Buffing: Before the excess sealer begins to dry on the surface, thoroughly buff off all residual liquid using a dry, clean microfiber cloth. Leaving excess sealer to dry on top will create a hazy, stubborn film that requires mechanical stripping to remove.
Conclusion
Restoring dull granite requires a careful balance of diagnosis, mechanical precision, and chemical protection. By identifying the root cause of dullness and systematically progressing through deep cleaning, diamond honing, powder polishing, and deep sealing, you can completely restore your granite’s structural depth and high-gloss reflection. To keep your stone looking pristine, avoid acidic dish soaps, use clean cutting boards, and wipe down your counters daily with a dedicated pH-neutral stone cleaner.
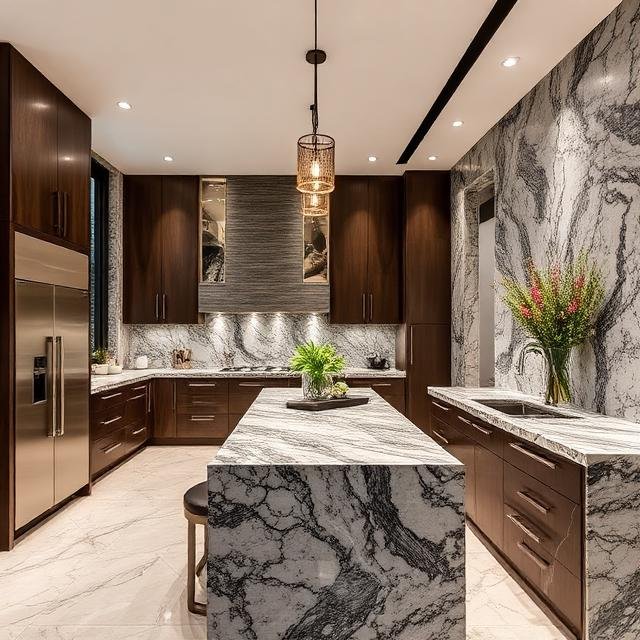
Frequently Asked Questions (FAQs)
- Q1: Can I use commercial baking soda paste to polish dull granite?
- A: While baking soda is a popular DIY option, it is mildly abrasive (pH ~9). Over time, repeated scrubbing can leave micro-scratches on polished granite. It works well as a temporary poultice for oil stains, but shouldn’t be used for regular polishing.
- Q2: How frequently should a granite countertop be re-sealed?
- A: Most high-traffic kitchen countertops require a fresh application of a premium impregnating sealer every 12 to 18 months. You can easily test this by placing a few drops of water on the stone; if it absorbs and darkens the surface within 5 minutes rather than beading up, it’s time to re-seal.
- Q3: Why does my granite look cloudy even after I’ve thoroughly cleaned it?
- A: This persistent cloudiness is usually caused by surfactant buildup from standard dish soap or generic household spray cleaners. To fix this, use an alkaline stone-stripping cleaner to break down the oily residue and clear the surface path.

